
After an At-Home Test: From Sample to Secure Results
By Stuart Chan
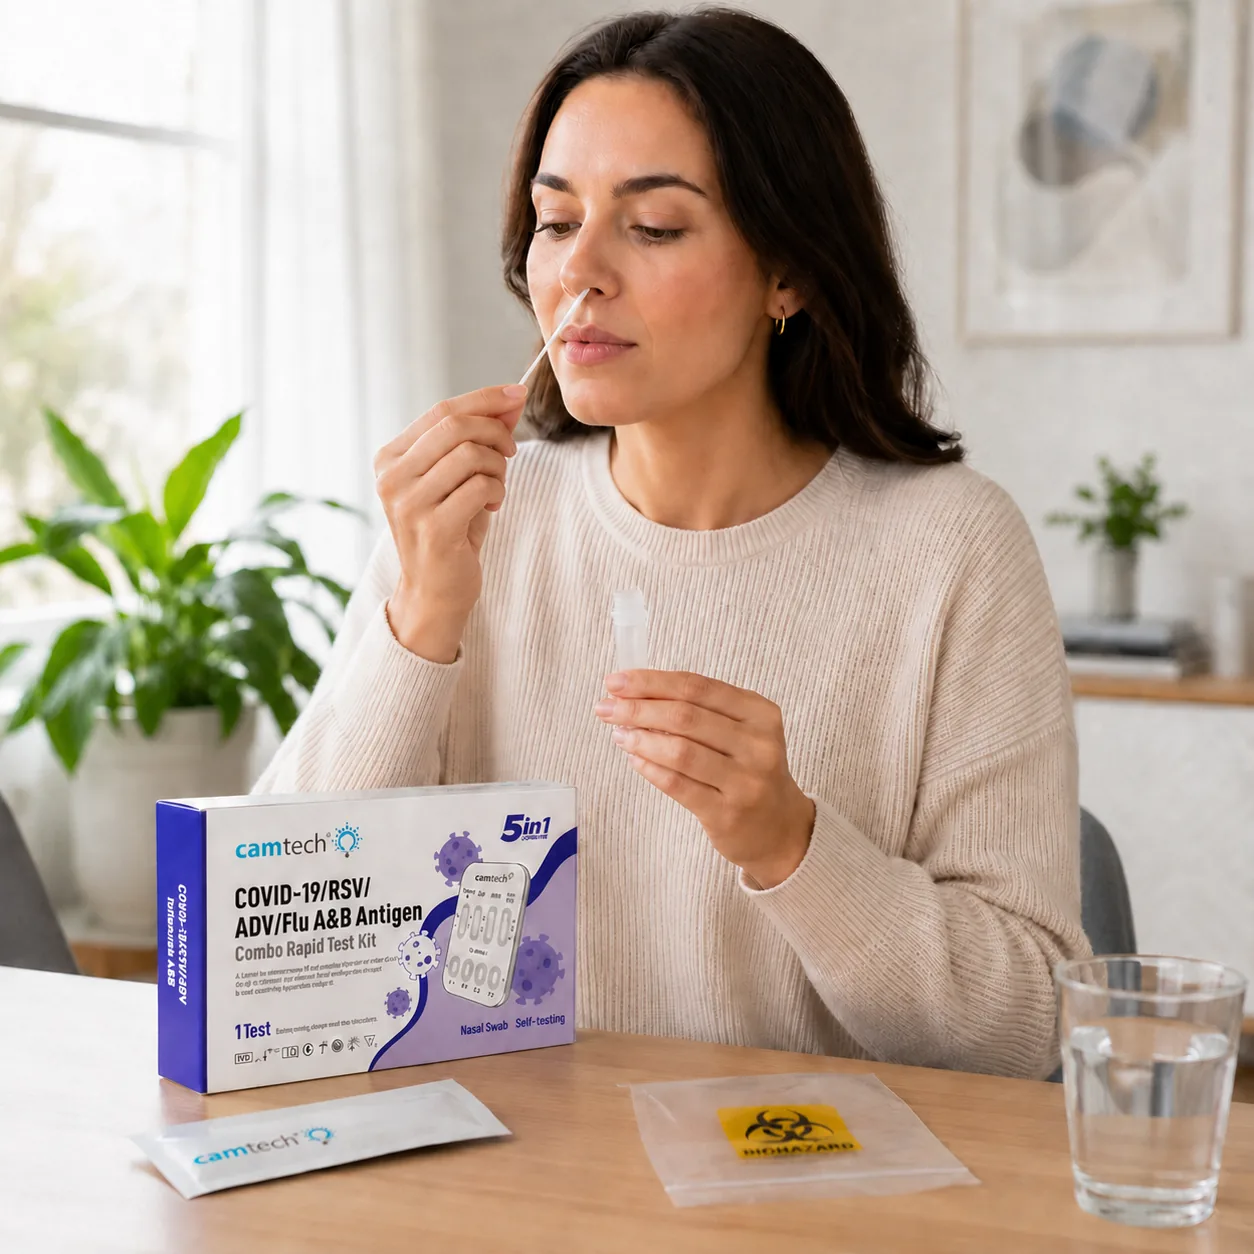
At-home health testing is changing how people access certain types of health information. Instead of starting every health check with a clinic visit, many tests now allow users to collect a sample at home, send it to a laboratory, and receive results through a secure digital platform.
This at-home test sample to result journey can feel unfamiliar at first. What happens after you collect the sample? How is it checked? Who reviews it? How are results delivered securely?
Here is a clear, step-by-step guide to what typically happens after an at-home test, from self-sampling to laboratory processing and secure digital results.
Why the Sample-to-Result Journey Matters
At-home testing is not simply about convenience. It depends on a careful process that includes correct sample collection, safe return logistics, laboratory analysis, quality checks, result interpretation and secure delivery.
The World Health Organization recognises self-care interventions as tools that may include diagnostics, devices and digital technologies used partly or fully outside traditional healthcare settings. These tools can support access and convenience, but they should complement professional healthcare when medical advice or follow-up is needed.
For users, understanding the journey helps build confidence. For healthcare providers and digital health platforms, it reinforces the importance of clear instructions, reliable laboratories, privacy safeguards and responsible communication.
Camtech Health’s wider digital health approach supports this shift by combining accessible testing with secure reports, app-based guidance and user-friendly health insights. You can explore related context in Camtech Health’s article on The Rise of Home Health Testing.
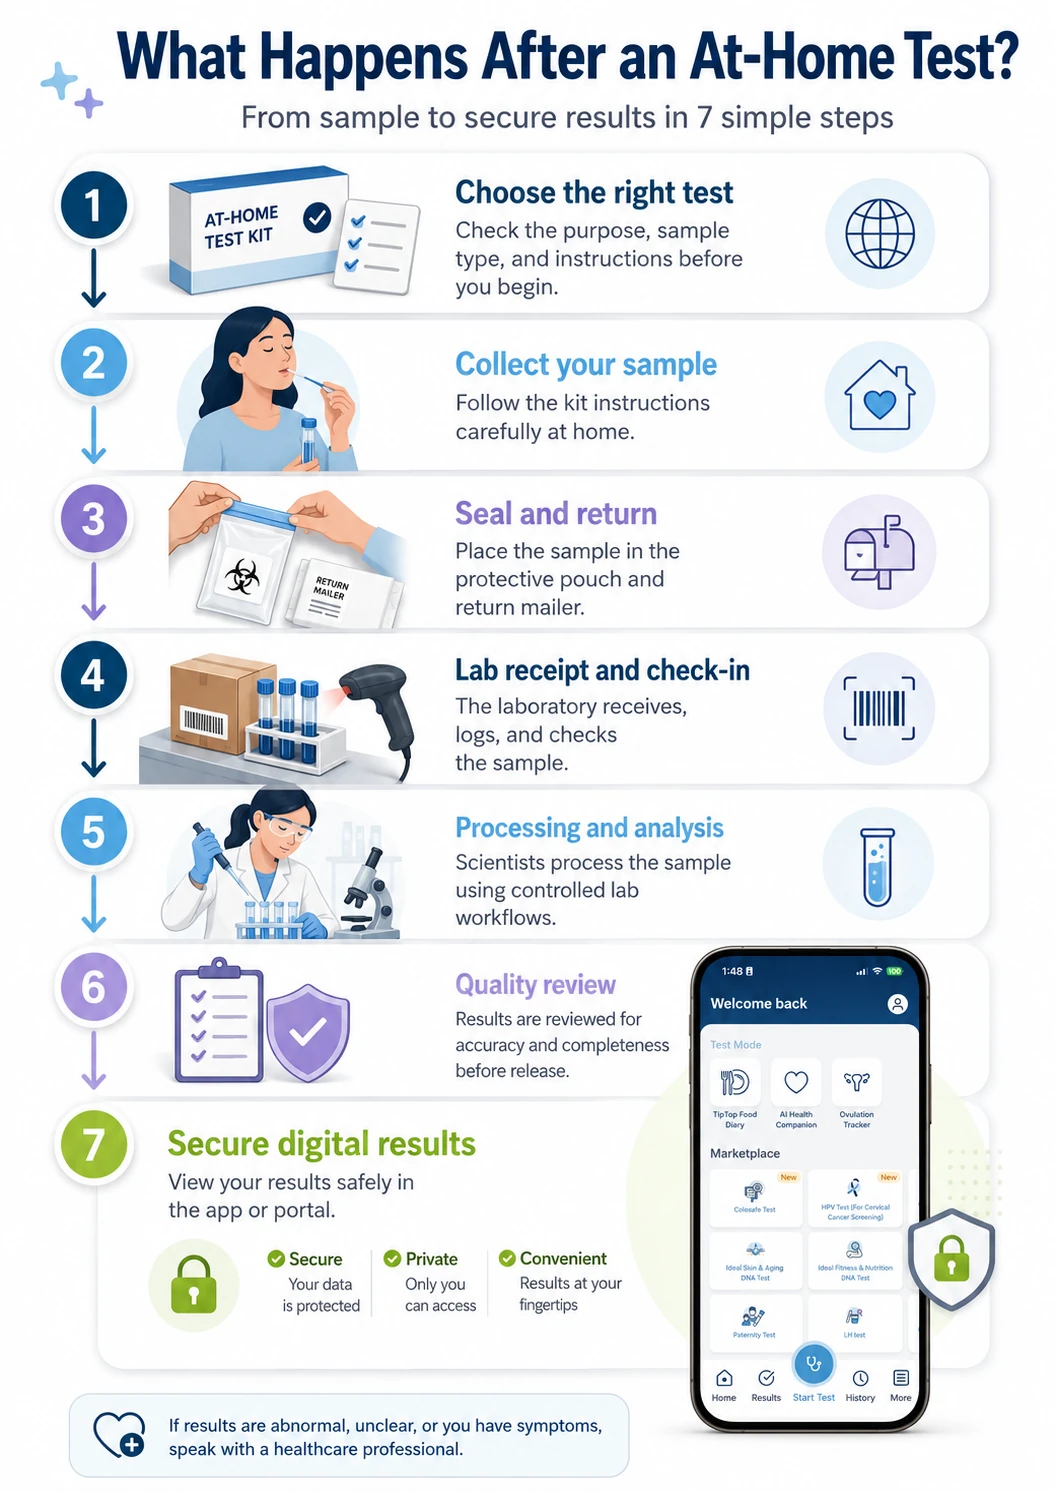
Step 1: Choosing the Right At-Home Test
The journey begins before a sample is collected. Users should first understand what the test is designed to do.
Some at-home tests are intended for general wellness insights. Others may support screening or detect specific markers linked to infections, hormones, genetics or health risks. The purpose should be clearly stated on the product page, packaging and instructions.
Before using an at-home test, check what sample is required, whether the test is for wellness, screening, monitoring or diagnostic support, whether the sample is analysed at home or sent to a laboratory, and whether a healthcare professional is involved in review or follow-up.
For example, DNA wellness tests usually look at genetic markers that may inform lifestyle and wellness awareness. They are not the same as a clinical diagnosis. Camtech Health explains this distinction further in At-Home Genetic DNA Testing Explained.
Step 2: Collecting the Sample at Home
Self-sampling means collecting your own biological sample using the kit provided. Depending on the test, this may involve a nasal swab, saliva tube, urine sample, stool sample, vaginal swab or blood spot.
This stage is important because the laboratory can only work with the sample it receives. Incorrect collection, insufficient sample volume, contamination or delayed return may affect whether the sample can be processed.
The CDC’s clinical specimen guidance highlights that specimen type, collection method and handling can affect testing workflows, especially for respiratory samples.
Good at-home test instructions should clearly explain when to collect the sample, how to prepare, how much sample is needed, how to seal and label it, and how soon it should be returned where laboratory testing is required.
Step 3: Sealing, Labelling and Returning the Sample
After collection, the sample is usually placed in a tube, pouch or protective container. Some kits include absorbent material, biohazard packaging, tamper-evident seals, return envelopes or prepaid mailers.
The goal is to protect the sample during transport and reduce the risk of leakage, damage or mix-ups.
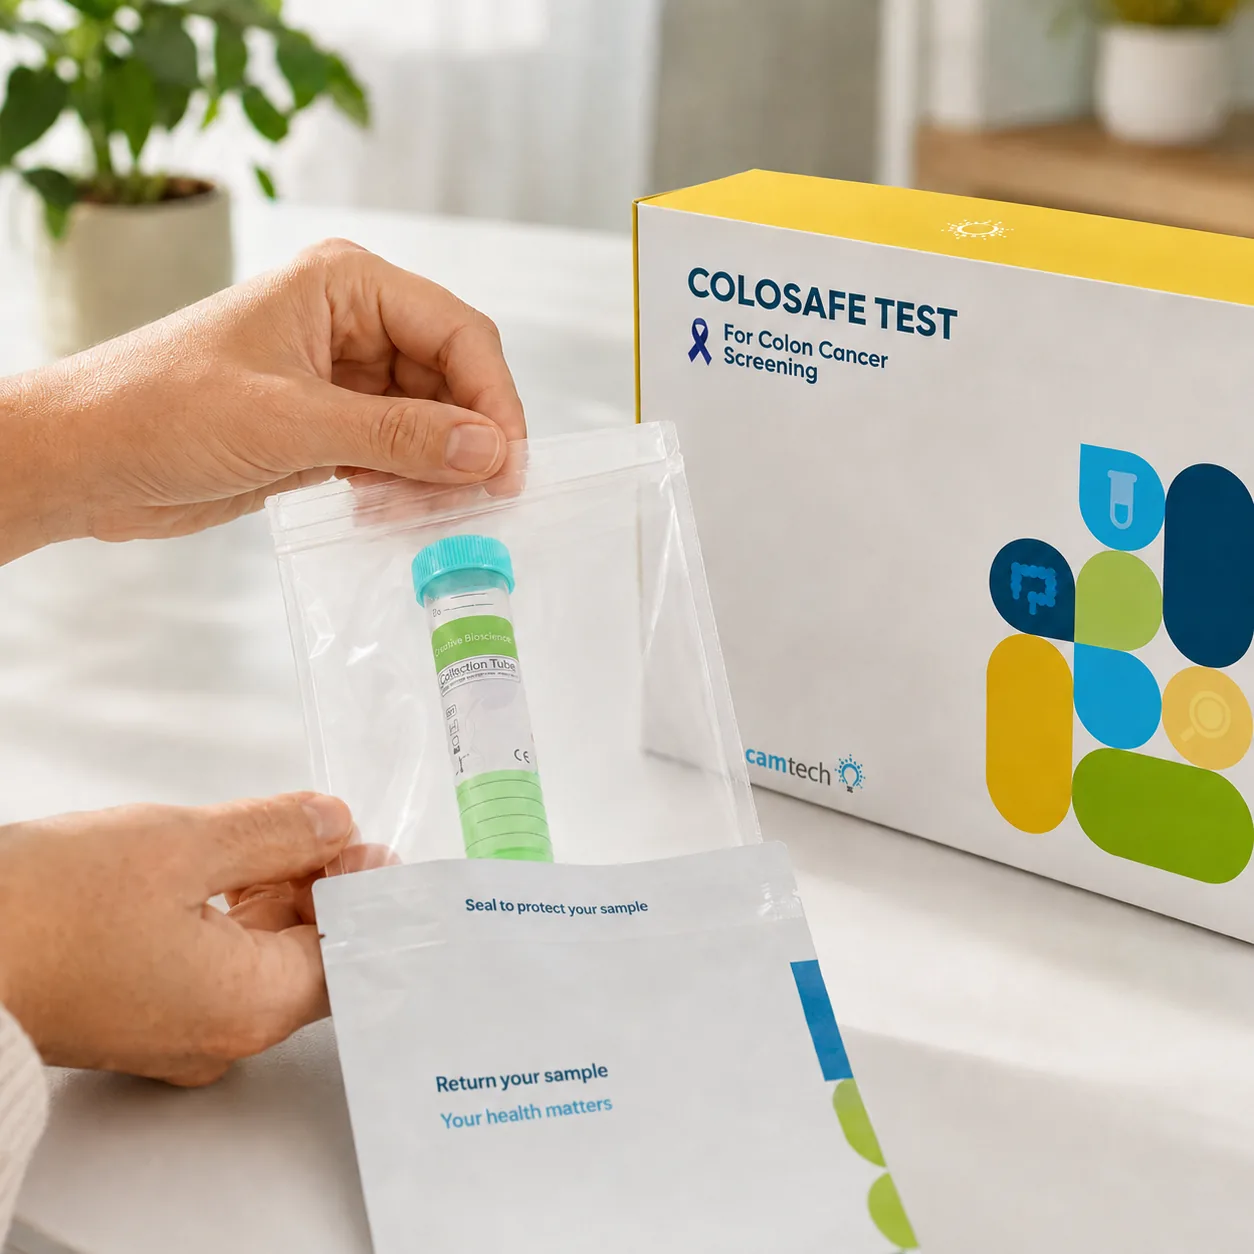
A typical return process may involve sealing the sample container, placing it into the provided sample bag, adding the request form or barcode if required, packing it into the return mailer and sending it to the laboratory using the stated method.
For many lab-based tests, the barcode or unique identifier is essential. It links the sample to the correct account or order without exposing unnecessary personal details during handling.
Step 4: Laboratory Receipt and Sample Check-In
Once the sample reaches the laboratory, it is checked in. This step may include confirming the sample type, barcode, collection date, packaging condition and whether there is enough sample to process.
If something is wrong, the laboratory may reject the sample or request a new one. Common reasons include leakage, insufficient sample, missing identifiers, expired kits or samples that arrived outside the acceptable time window.
Accredited laboratories follow structured quality systems. ISO 15189:2022 specifies requirements for quality and competence in medical laboratories, including systems used to support reliable laboratory work.
Step 5: Laboratory Processing and Analysis
The laboratory process depends on the test type. DNA wellness tests may involve DNA extraction, genotyping or sequencing and data analysis. HPV screening tests may detect high-risk HPV DNA from a collected swab. Respiratory tests may use antigen or molecular methods, depending on the test format.
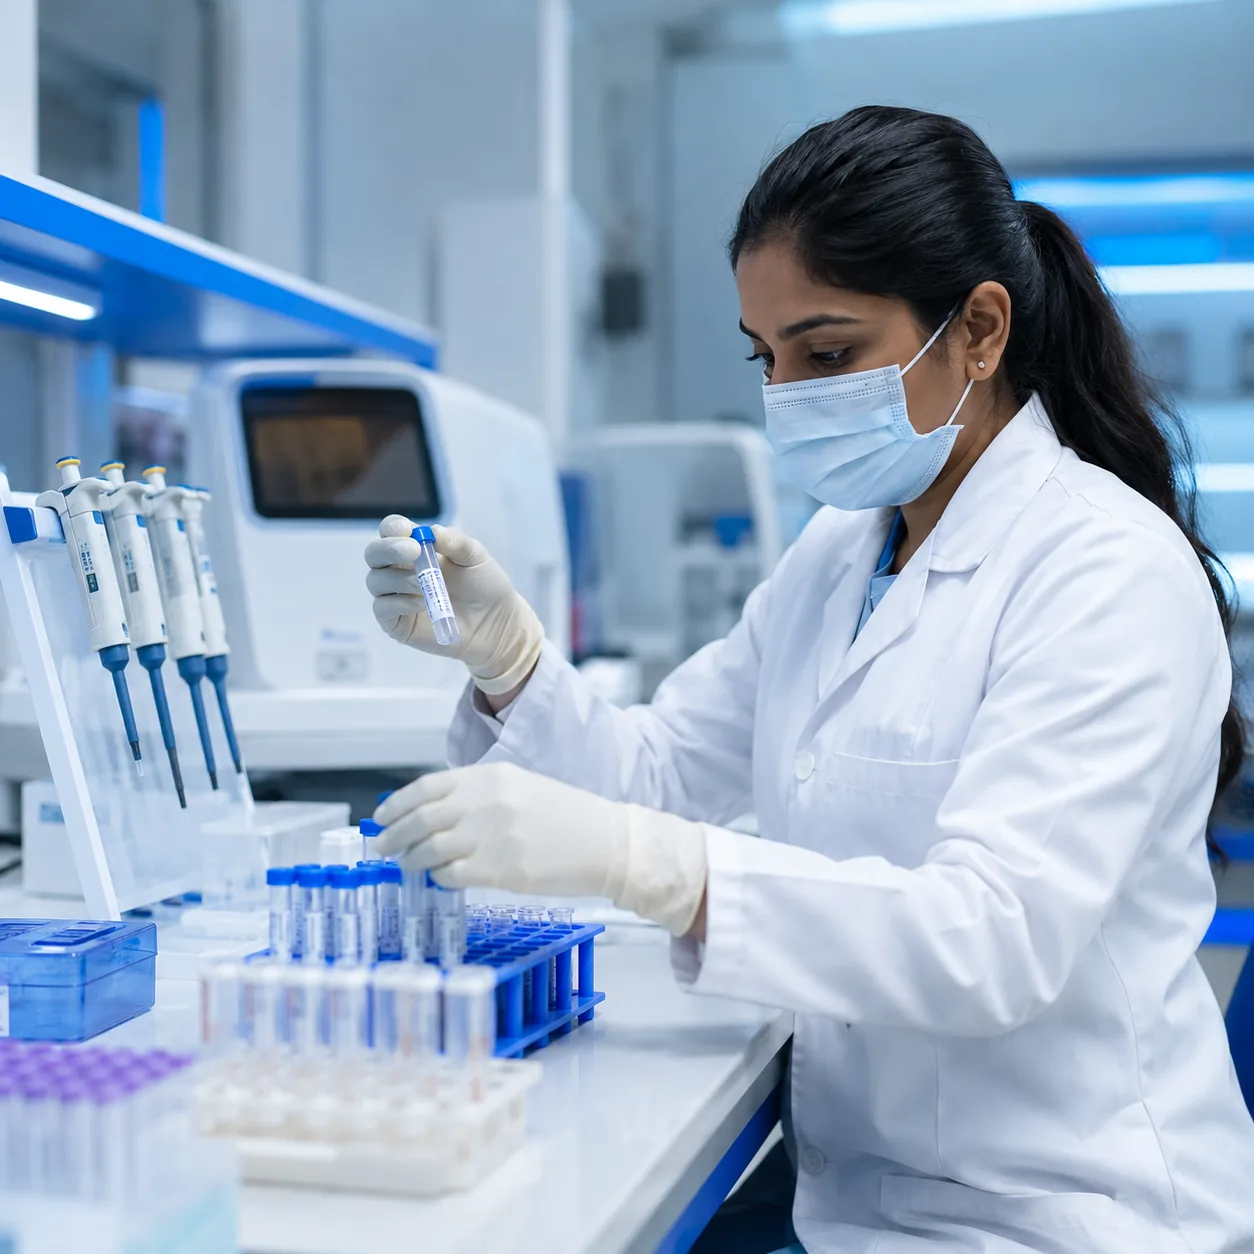
Some testing formats, such as lateral flow assays, are designed to produce rapid visual results. Other workflows require more complex laboratory processing, specialist equipment and data interpretation.
At Camtech Health, digital health diagnostics and at-home testing are part of a broader platform approach. The Camtech Health App is designed to organise health reports, insights, personalised guidance and selected sharing options in one place.
Step 6: Quality Review Before Results Are Released
Before results are issued, laboratories may perform quality checks to ensure the test run is valid. This can include checking internal controls, sample adequacy, instrument performance and whether results fall within expected reporting rules.
This stage helps reduce the chance of unclear or unreliable reporting. It also helps determine whether a result can be released, whether repeat analysis is needed or whether the sample should be recollected.
For users, this means that “processing” is not just waiting time. It often includes multiple steps designed to protect result quality.
Step 7: Secure Delivery of Digital Health Results
Once approved, results may be delivered through a secure app, web portal, encrypted email, healthcare provider or teleconsultation platform. The safest systems avoid sending sensitive health information through unsecured channels.
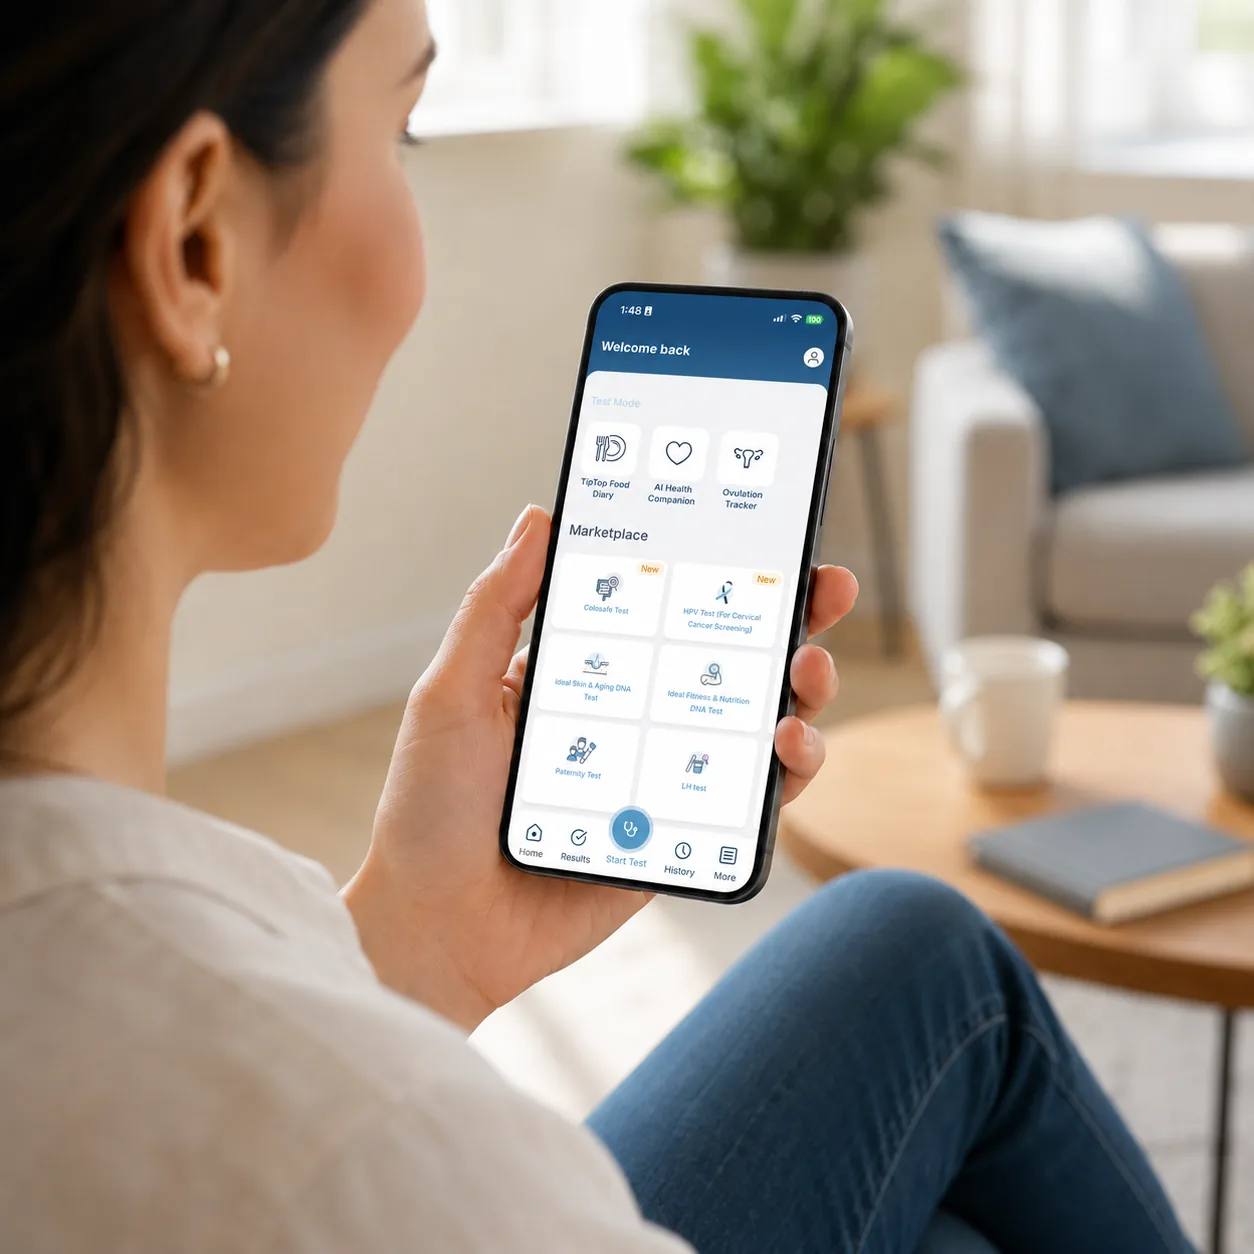
Secure health results should ideally include a clear result summary, plain-language explanations, important limitations, recommended next steps, guidance on when to speak with a doctor and secure account access.
Digital health tools are increasingly important in healthcare access. The WHO Classification of digital interventions, services and applications in health describes how digital health tools can support individual and health-sector needs.
What If the Result Is Positive, Abnormal or Unclear?
An at-home test result should not be viewed in isolation. A positive, abnormal, borderline or unclear result may need follow-up with a doctor, specialist or healthcare provider.
Depending on the test, follow-up may involve repeat testing, a confirmatory laboratory test, a clinical examination, a doctor’s consultation, referral for further screening or treatment, or a lifestyle and wellness discussion with a qualified professional.
The U.S. FDA’s information on home-use tests also highlights the importance of understanding what a test is intended to do and how results should be interpreted.
How Long Do At-Home Test Results Take?
Timelines vary by test type, sample type, laboratory workload, shipping time and whether additional review is needed.
Some rapid tests may provide results in minutes. Lab-based testing may take several days to a few weeks after the sample reaches the laboratory. DNA-based wellness testing may take longer because genetic analysis and report generation are more complex.
Users should check the expected timeline before purchasing the kit. A responsible provider should explain whether the timeline starts from the order date, collection date, laboratory receipt date or successful sample acceptance.
How to Improve the Chance of a Valid Sample
To reduce the risk of rejected or inconclusive results, read all instructions before opening the sample container, collect the sample at the recommended time, use the correct tube or container, avoid contamination, seal everything properly and return the sample promptly.
A smooth sample-to-result journey depends on both the provider’s systems and the user’s collection steps.
The Role of Digital Health in the Future of Testing
Digital health is making the testing journey more connected. Instead of receiving a standalone result, users may be guided through ordering, collection, return logistics, result notification, report interpretation and follow-up support in one platform.
For a global audience, this is especially relevant. At-home testing and digital health can support access for people who face barriers such as distance, time constraints, privacy concerns, mobility challenges or limited clinic availability.
Final Thoughts
The at-home test sample to result journey is more than a simple kit in the post. It is a connected process involving self-sampling, secure transport, laboratory checks, analysis, quality review and digital result delivery.
When done responsibly, at-home testing can support more accessible, proactive and informed health decisions. The key is to choose tests from providers that explain the purpose clearly, use appropriate laboratory processes, protect personal data and encourage medical follow-up when needed.
At-home testing should empower users, not leave them to interpret complex health information alone.
Frequently Asked Questions
1. What happens after I send back an at-home test sample?
After your sample is returned, the laboratory usually checks the packaging, confirms the sample ID, assesses whether the sample is suitable for testing, processes it, performs quality checks and releases the result through the stated reporting method.
2. Can an at-home test sample be rejected?
Yes. A sample may be rejected if it leaks, is not labelled correctly, has insufficient volume, arrives too late, is contaminated or does not meet the laboratory’s acceptance criteria.
3. Are at-home test results secure?
They should be. Responsible providers use secure portals, app-based access, encryption, account authentication and privacy controls to protect sensitive health information.
4. Does an at-home test replace seeing a doctor?
No. At-home tests can provide useful information, but they do not replace professional medical advice, diagnosis or treatment. Speak with a qualified healthcare professional if you have symptoms, concerns or an abnormal result.
5. How long does it take to get at-home test results?
It depends on the test. Some rapid tests provide results in minutes, while laboratory-based tests may take days or weeks depending on shipping, sample acceptance, analysis and report review.
References
- World Health Organization: Self-care for health and well-being
- CDC: Interim Guidelines for Collecting and Handling Clinical Specimens
- ISO 15189:2022 Medical laboratories, Requirements for quality and competence
- U.S. FDA: Home Use Tests
- WHO: Classification of Digital Interventions, Services and Applications in Health
Medical Disclaimer
The information in this article is for educational and informational purposes only and does not constitute medical advice, diagnosis or treatment. At-home tests, wellness tests and digital health reports should be interpreted according to their intended use and limitations. Always consult a qualified healthcare professional if you have symptoms, receive an abnormal result or have questions about your health.
*Visuals are assisted by AI